Or follow the steps below for your client.
Open the Connectors page
Go to claude.ai/settings/connectors — this opens the "Add custom connector" modal directly.
Add a custom connector
Tap + and choose Add custom connector.
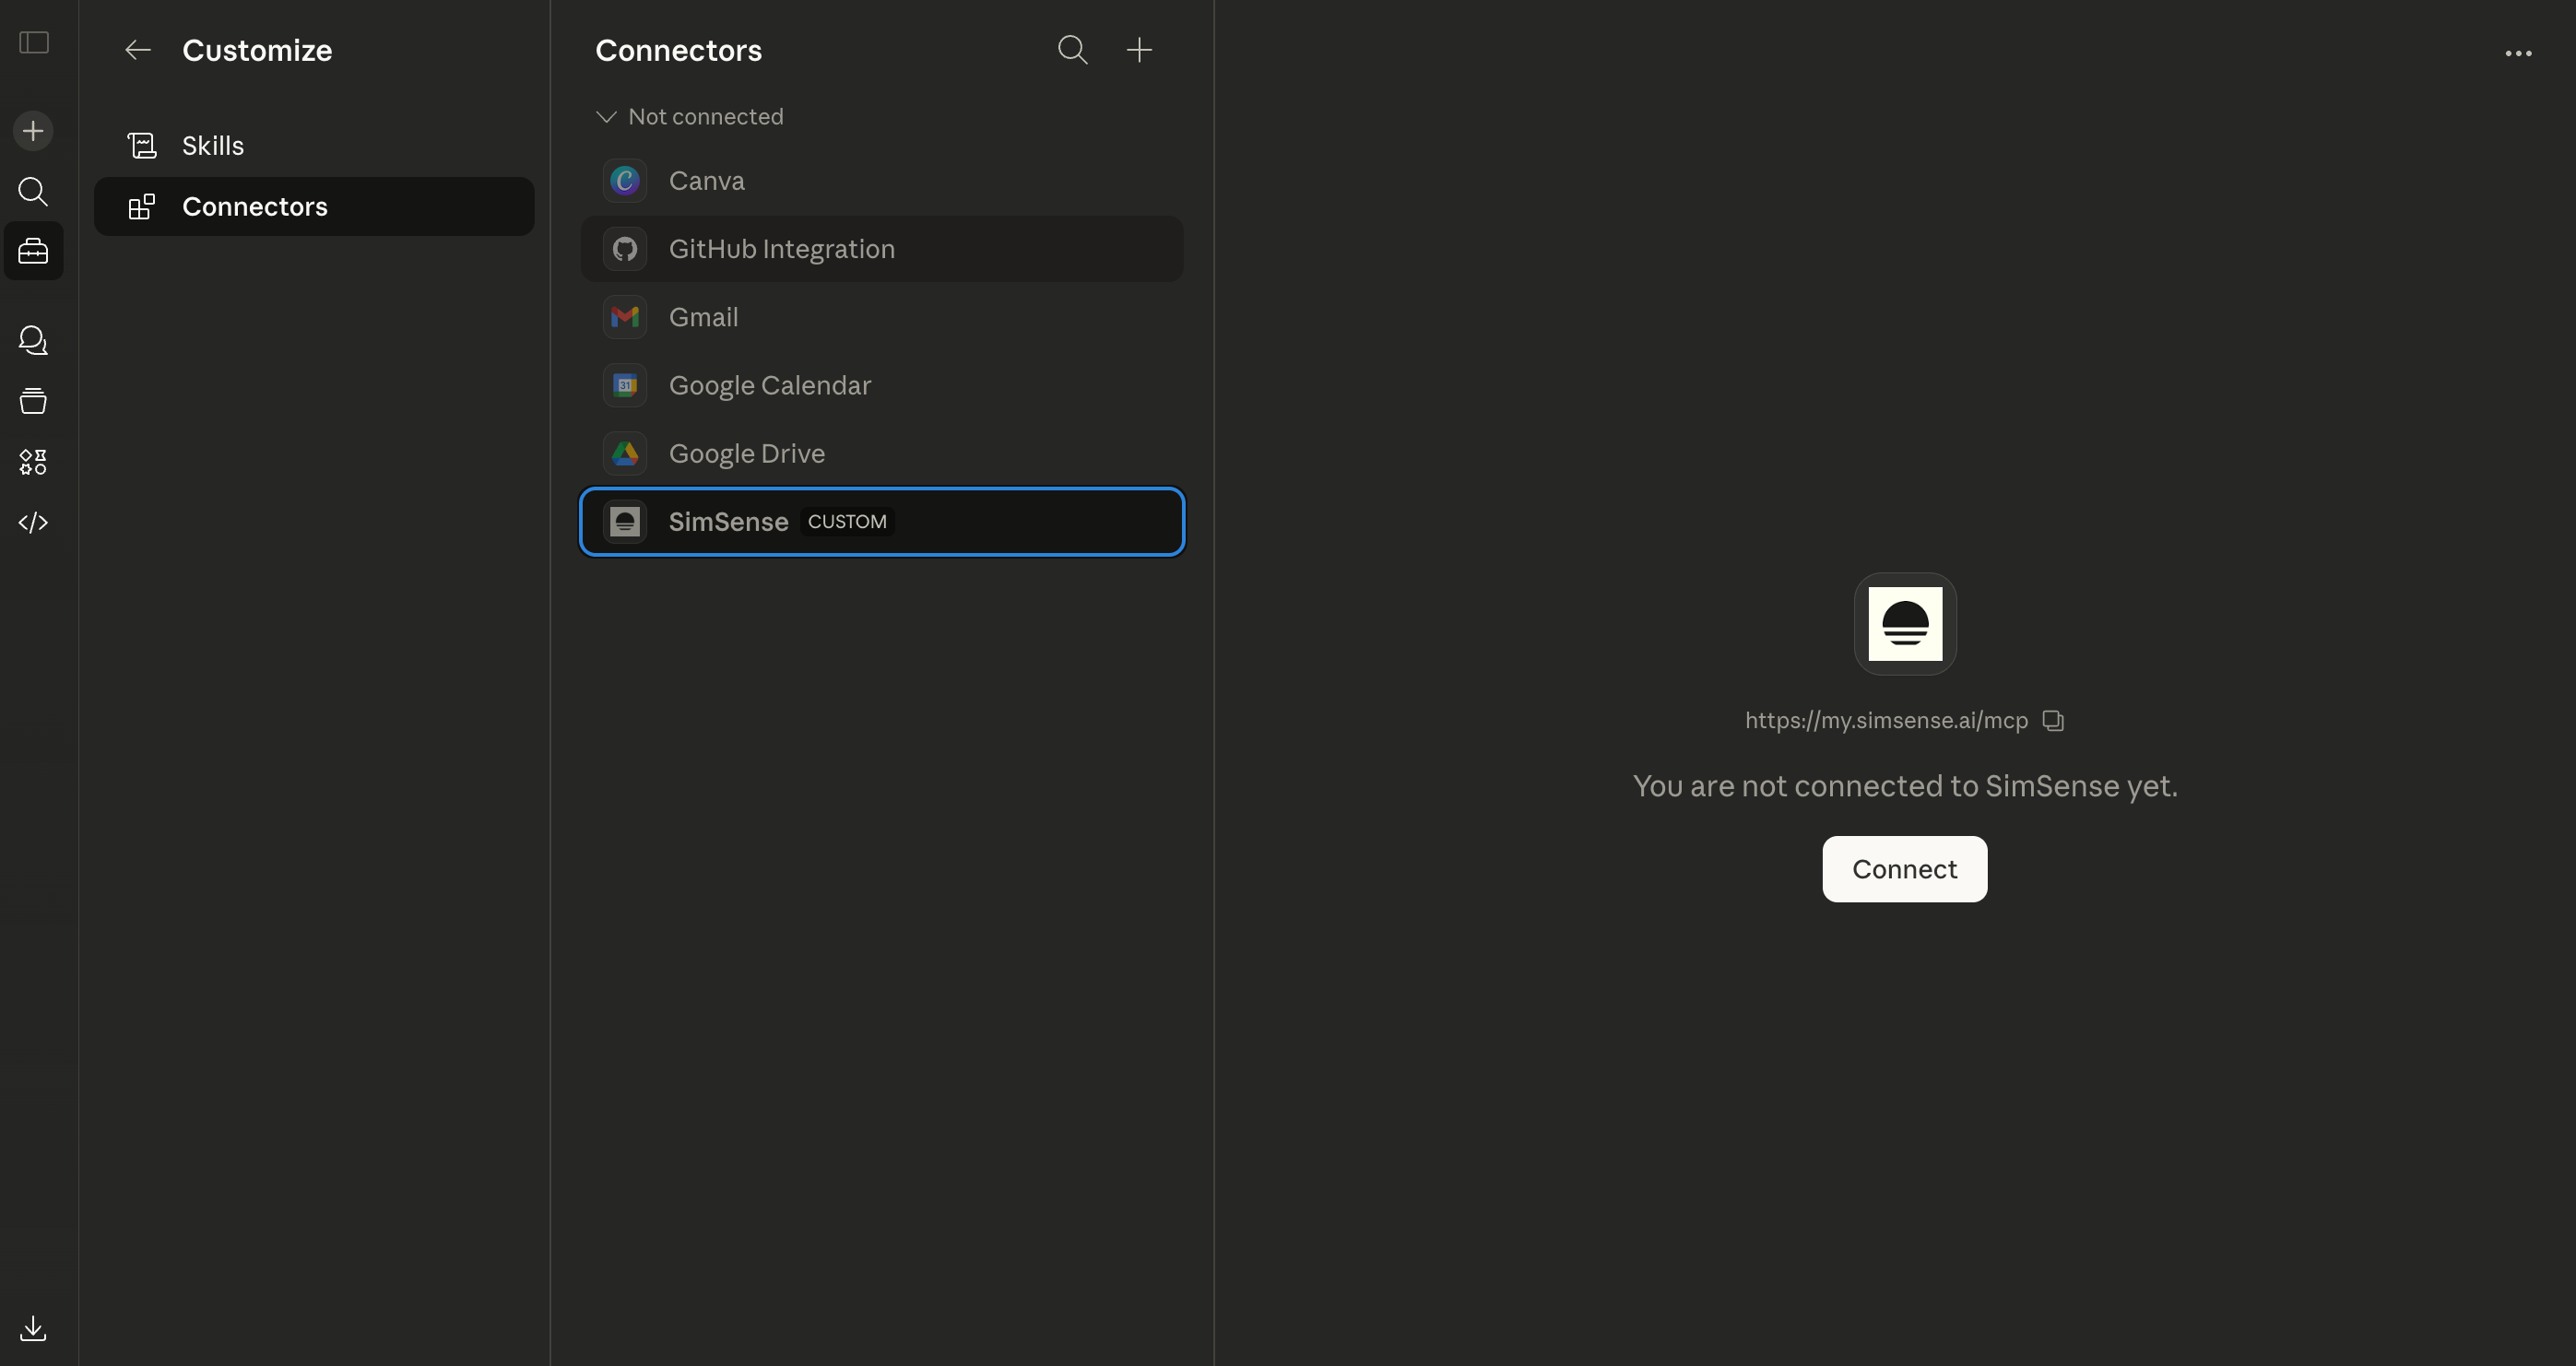
Name it SimSense and paste this URL:
https://my.simsense.ai/mcpSave and sign in
Save the connector, then click Connect to authorize SimSense with your Google account.
Start a new Claude chat
Try something like:
"Build me a morning briefing Sim with time, weather, and my calendar. Something I'd put on the kitchen counter."
Tap the + icon
Open Claude Desktop and start a new conversation. Tap the + button in the message input area.
Open Manage Connectors
Select Connectors, then tap Manage connectors.
Add a custom connector
Tap +, choose Add custom connector. Enter SimSense as the name and paste this URL:
https://my.simsense.ai/mcpSave and sign in
Save the connector, then click Connect to authorize SimSense with your Google account.
Start creating
Try something like:
"Build me a morning briefing Sim with time, weather, and my calendar. Something I'd put on the kitchen counter."
Having trouble? Check our FAQ for common setup issues.